Quivers + Shopify: Live Inventory Dealer Locator Widget Setup
The Quivers Dealer Locator widget displays a live list of authorized dealers on your Shopify product pages, powered by HoverCart and Shopify Liquid variables. This article walks through the four steps to get it set up — from adding the HoverCart script to your theme and enabling HoverCart Lite mode, to embedding the widget snippet on product pages and verifying the integration.
In This Article
This guide walks you through setting up Quivers' Dealer Locator widget on a Shopify storefront. The widget is embedded directly on Product Detail Pages (PDPs) using HoverCart and Shopify Liquid variables. Once set up, it automatically displays a list of authorized dealers based on the product being viewed.
Prerequisites
Before starting, confirm the following are in place:

Setup Steps
Complete all four steps in order. Contact support@quivers.com if you need help at any point — our team can also assist with custom CSS implementation.
Add the HoverCart Script to the Shopify Theme
The HoverCart script must be added to the <head> section of the Shopify theme so it loads on every page. This is done in the theme.liquid file, which controls the global layout of the storefront.
- Go to Shopify Admin → Online Store → Themes → Actions → Edit Code.
- Open layout/theme.liquid.
- Paste the script tag inside the
<head>section, before the closing</head>tag. - Save the file.
Script to add
<script
  type="text/javascript"
  src="https://hovercart.quivers.com/?Marketplace={YOUR_MARKETPLACE_ID}"
  async="true">
</script>
*.mydomain.com).
Configure the HoverCart Template
After the script is installed, enable HoverCart Lite mode. This hides the traditional HoverCart Ribbon, which is used for other use cases and is not needed for the Dealer Locator widget.
- Navigate to Storefront → Preview.
- Log into the HoverCart Ribbon that appears on the page.
- Go to Settings (gear icon) → Simple Settings → HoverCart Lite → Apply.
- To access additional settings such as custom CSS, scroll down and switch from Basic to Advanced settings.
Add the Live Locator Widget to Product Pages
This step places the Dealer Locator widget on product pages. Shopify uses Liquid variables to dynamically inject product information into templates. Quivers uses the product's Shopify ID — via — to map to the correct Quivers product and display the right dealer list automatically.
The product page template is typically one of the following Liquid files:
templates/product.liquidorsections/product-template.liquid
Widget snippet — add to the product template:
<div data-widget=""></div>
Where to place it: The most common placement is above the Add to Cart button. Locate the Add to Cart button in the template and paste the snippet just before it. Ensure the snippet is inside the product template and not inside a conditional block that may hide it.
Verify the Setup
Once the snippet is saved, confirm everything is working correctly:
- Navigate to a product page on the live Shopify storefront.
- Confirm the Dealer Locator widget renders in the expected location.
- Check that the widget displays dealers relevant to that specific product.
- Test on at least two different product pages to confirm the dynamic ID mapping is working correctly.
Quick Reference
| Item | Detail |
|---|---|
| Script Location | Inside <head> in layout/theme.liquid |
| HoverCart Script URL | https://hovercart.quivers.com/?Marketplace={YOUR_MARKETPLACE_ID} |
| Widget Snippet | <div data-widget=""></div> |
| Liquid Variable | |
| Recommended Placement | Above the Add to Cart button in the product template |
| Customization | HoverCart Settings → Advanced → Custom CSS |
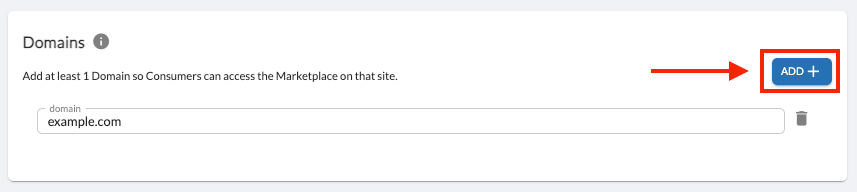
| Domain Whitelist Path | Admin Panel → Sales Channels → Storefronts → [Storefront] → Domains |
Need Help?
Our support team can help you implement the widget, troubleshoot issues, or collaborate on custom CSS styling.